Did you miss me?

Were you maybe wondering where I’ve been?, Where was I suffering in incomparable despair as we couldn’t leave the house and I was going bananas and being an impossible Diva?

Well the answer is clear my dears, I was under house arrest like all of you due to this rabid virus.
While easter passed through swiftly and it was clear that the world was going down the route of a horrendous pandemic of biblical proportions, we determined that in order not to loose our minds we had to try to keep busy DIY-ing in the house.
My ” keeping-yourself-entertained-so-you-don’t-end-killing-someone ” translated of becoming the perfect 1950s sewing bee and completed all my trousseau in a mater of weeks.
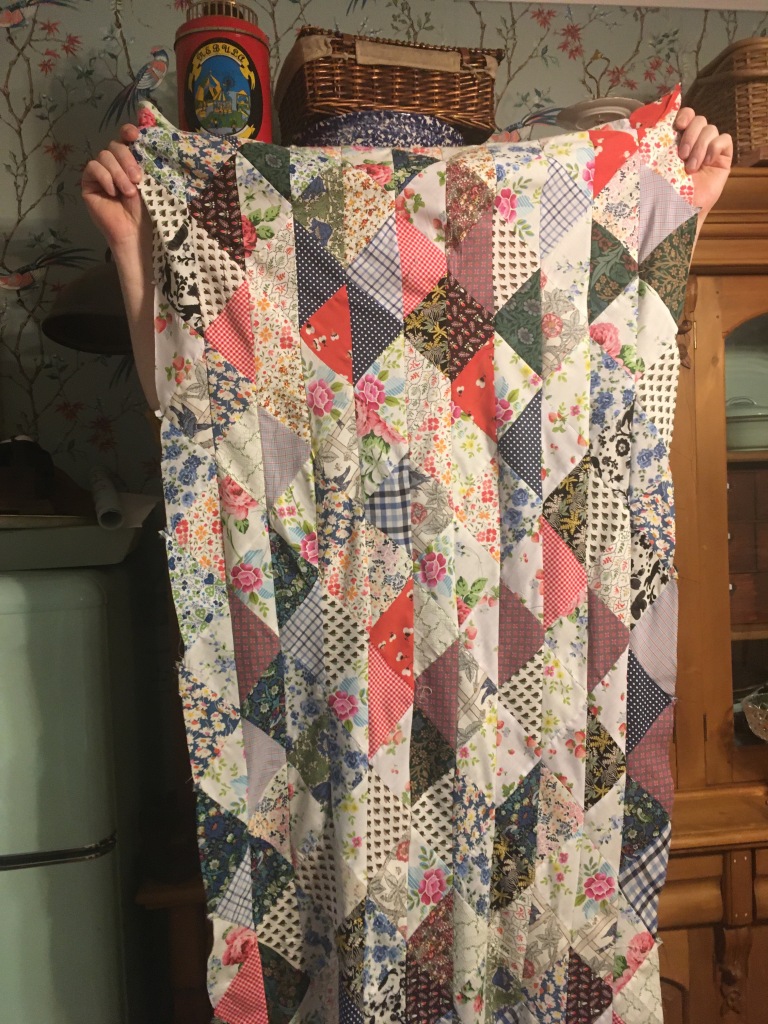
Well, maybe not all of it, maybe it was just the grand total of a double bed size quilt, two baby quilts and a dress for my mother-in-law, but I tried.

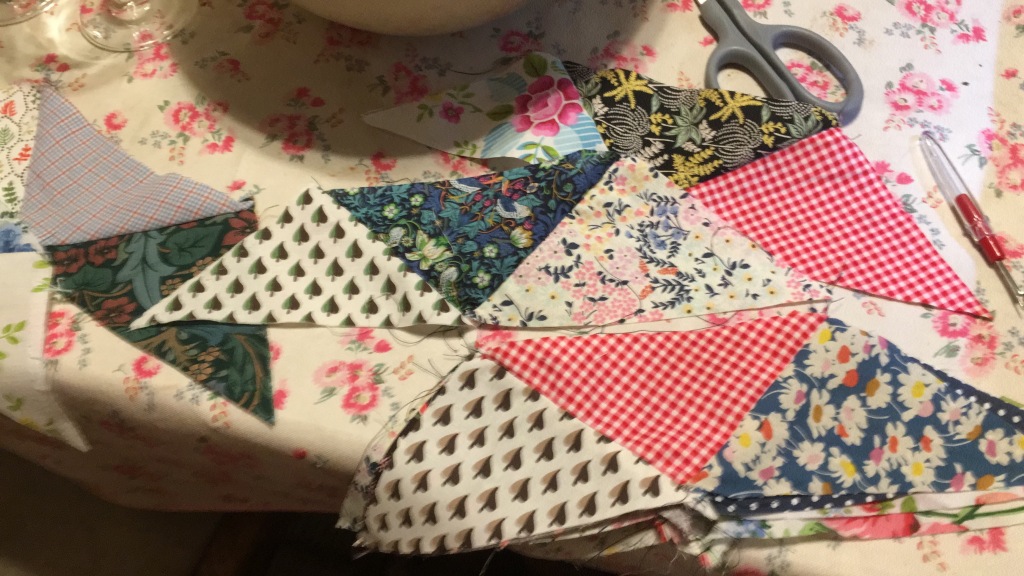
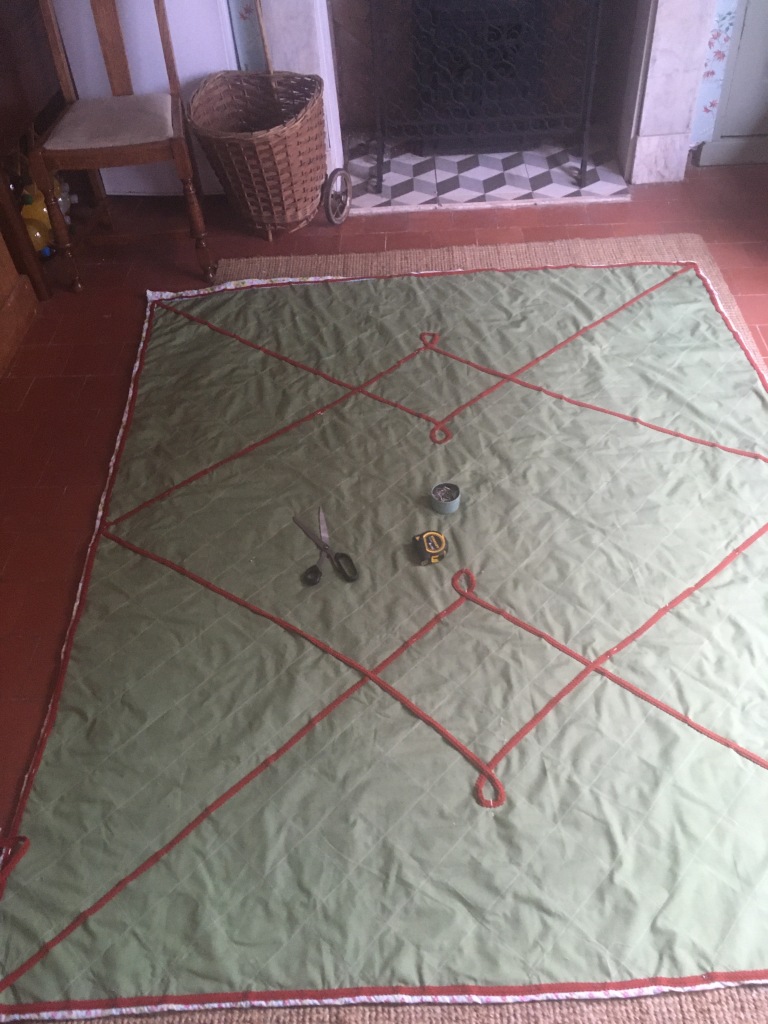
The process was fairly tedious as I foolisly decided to cut the worlds smallest triangles to complete the task. after all the patches were put together I sandwiched the quilt and the lining layer with an old wooden blanket in between to give some body to the bedspread.

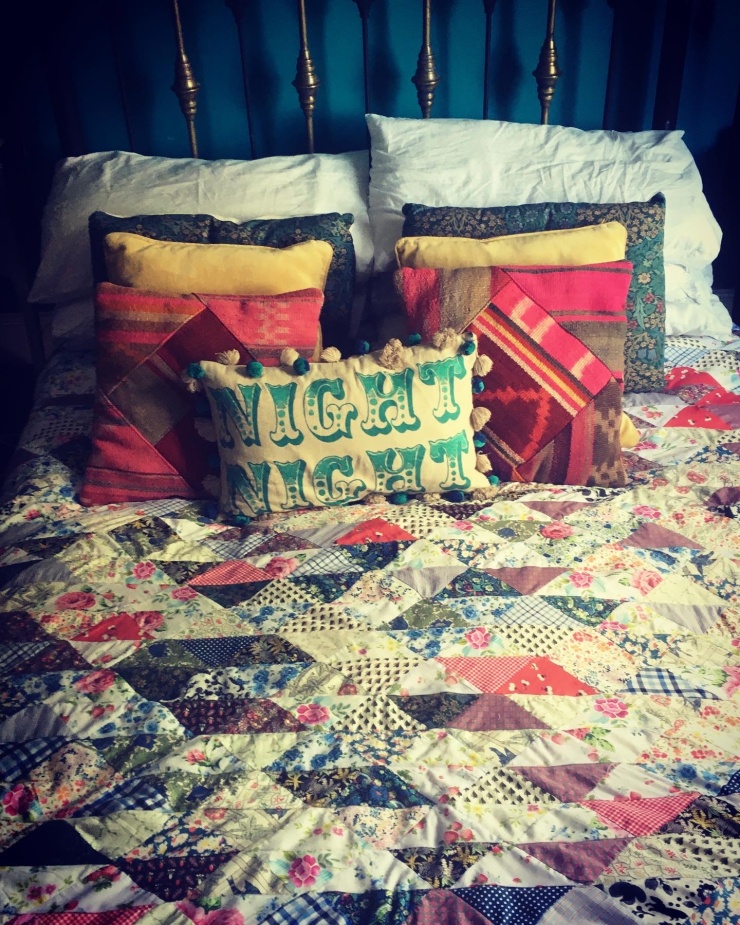
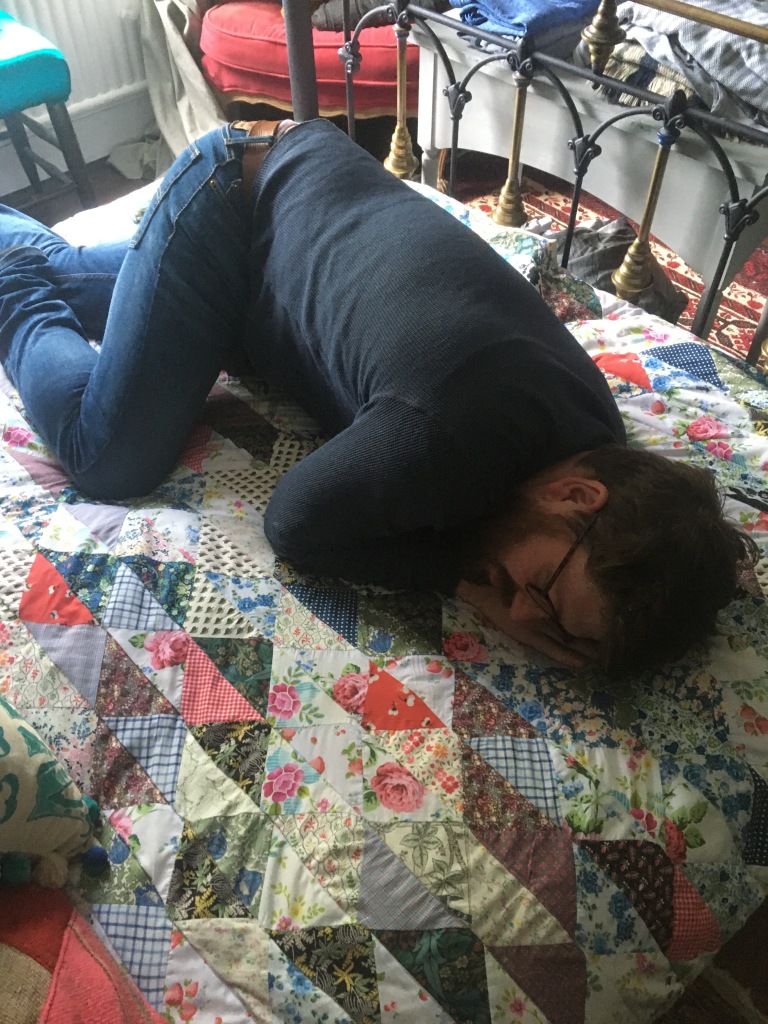
And as you can see i had full husband approval about the confort of the quilt. Of course he had to approve as theres an abundance of ££££ in vintage fabrics and fabrics from the V&A quilt exhibition.
Heirloom anyone?
Triumph!
Hooray!
Who’s the best seamster of them all?

And as I didn’t have enough now I’m torturing myself by adding braid to the back ( as this quilt wasnt decorative enough in my head )
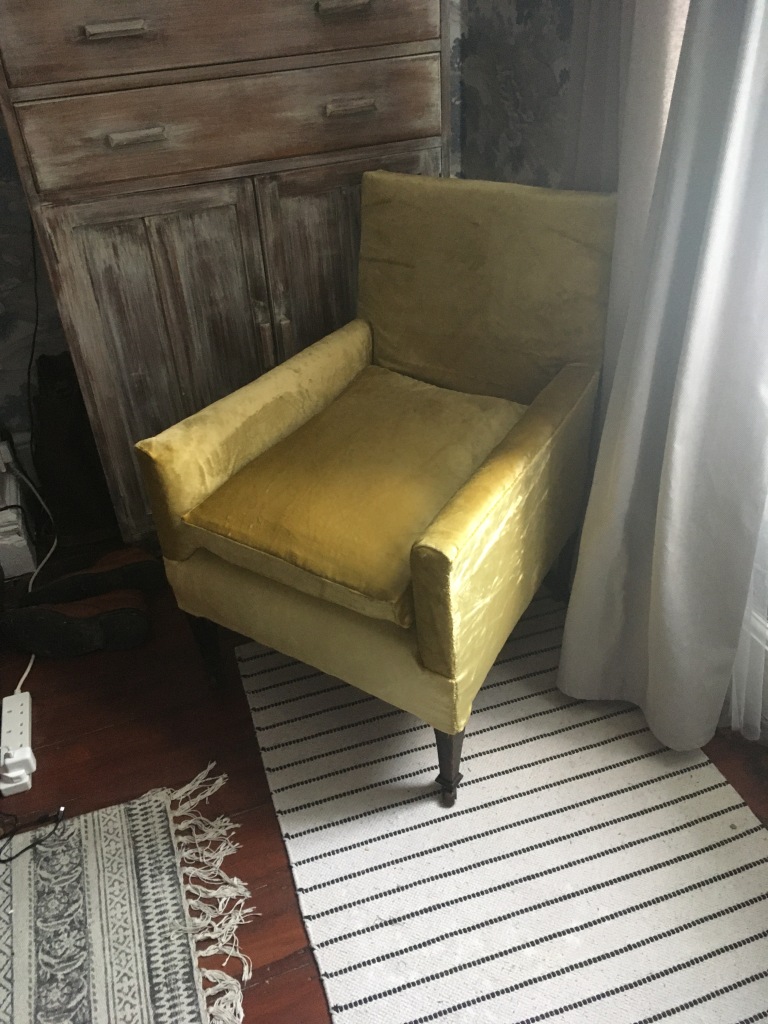
But the sewing jobs didn’t end here as Daniels grandparents armchair’s upholstery needed refreshing.
While looking through my stash of fabric ( a.k.a the mountain of doom ) I found 3 metres of italian silk velvet that our auntie Angela got me for my birthday in the rag market last year, and as you can see it worked a treat.
Our main idea was to keep rebuilding the house and have a good go at finishing those small tedious jobs. But unfortunately we had my in-laws stay with us for two months ( my father in law is very allergic to dust) and therefore I couldn’t lift floors, sand, paint or build while they were in the house.
So we focused mainly in the garden and I got to finish some projects that i started years ago like the patchwork quilt I was talking about before. ( the quilt that has been on the making for 6 years I might add)

Because I’m a procrastinator,
And In my procrastination wisdom , it can take years for me to finish something. I tend to bury this jobs deep down in the closet till finally they come to haunt me. Are you the same or its just deranged me?

Now lets focus on proper rebuilding/restoration stuff.

The kitchen sink.
Conundrums…..
I knew I wanted something in vitreous porcelain ……
or porcelain covered steel ……
or cast iron…..
or anything that resembles a seemingly glamorous bygone era…..
but unfortunately those kinds of sinks are not that common in the UK as they are in the US.
I was swooning for a victorian american farmhouse kitchen sink but it was impossible to locate one in europe until….
I found this….
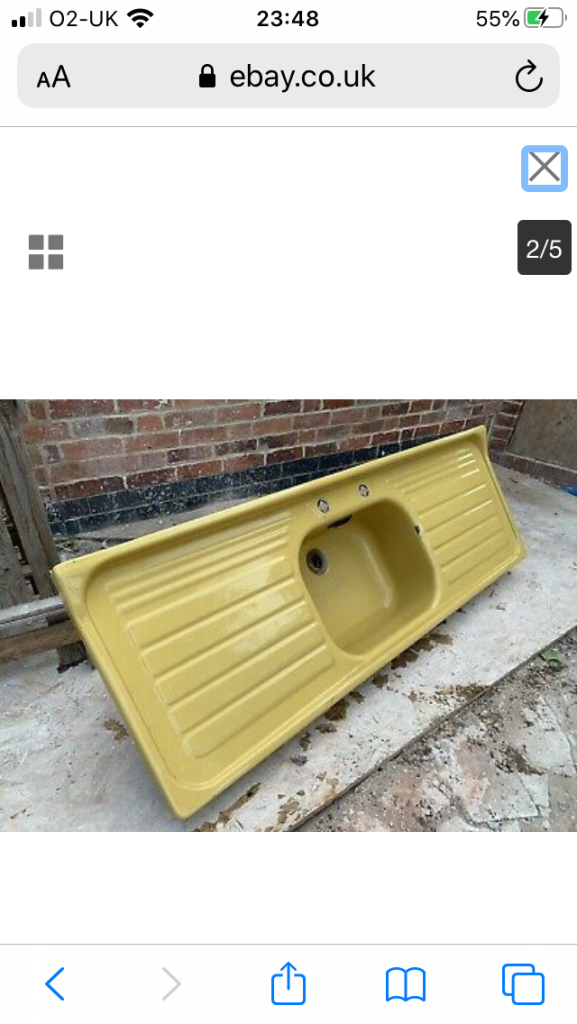
Yes I eBay at any given time at the most stupid and intemperate hours.
But it was sort of exactly what I was after, as I’m also a sucker for anything mid-century-kitchen- related too.
Our kitchen sink was produced min Nottingham by a British company called Leisure in 1954. And pretty much like the hostess sinks of the time, it comes with a double drainer and lots of damage due to its age.
We managed to buy the exact same model as the one you can see in the advert bellow. And much to my wonderment I feel every word that she makes reference to in this advert. I did too indeed fall in love with the sink.
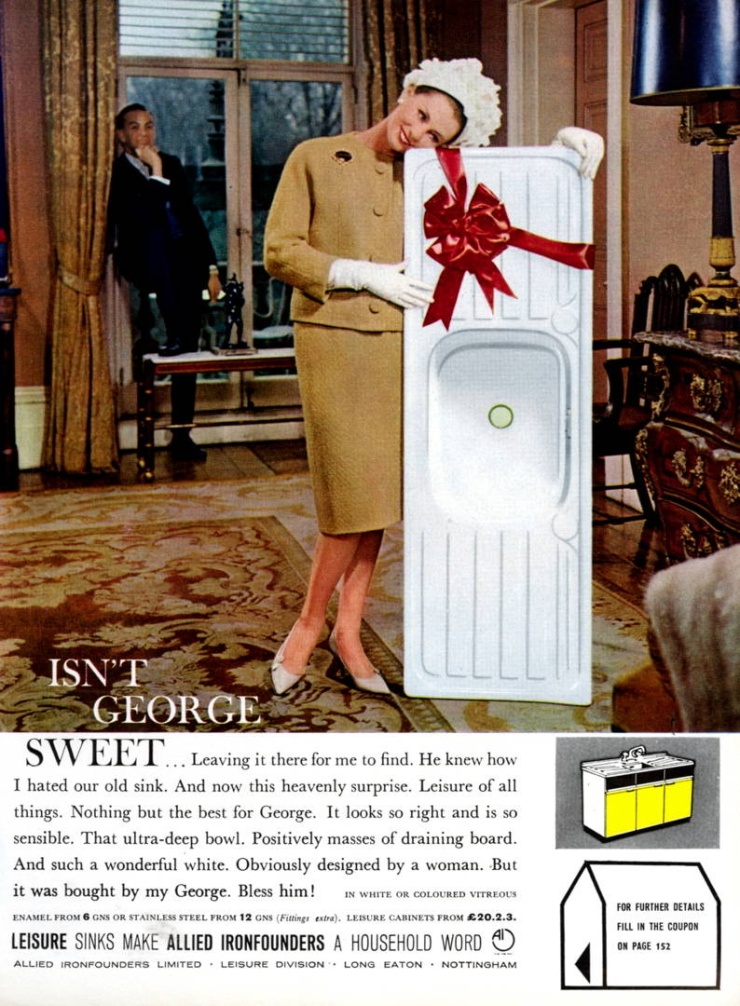
Unfortunately due to its 66 years in existence, our sink didn’t come without its war scars. but it was £60, so I could no longer leave it in that posh mans paws any more.
The wounds consist in enamel chipping,scratches, rust and bumps. But that obviously didnt stop me. I think that now you can rightly refer to me as the plastic surgeon of sinks.


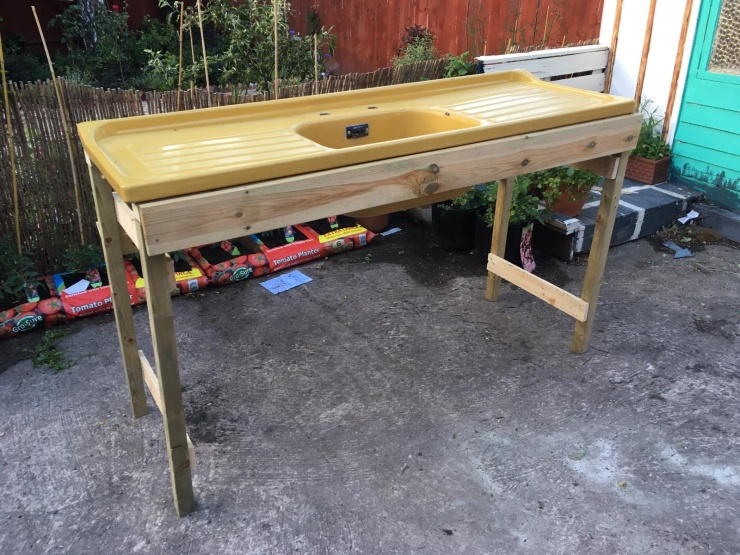
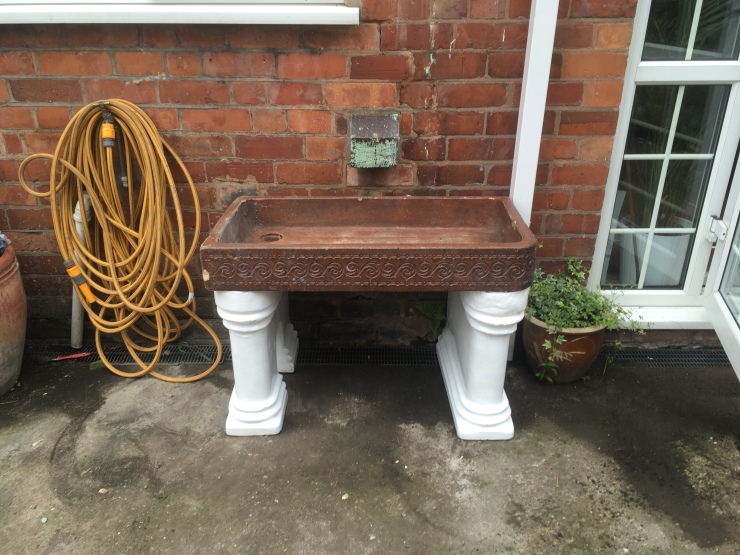
I also built a provisional structure both to protect the sink and to have an idea of the volume of space that it will take once placed in the kitchen.
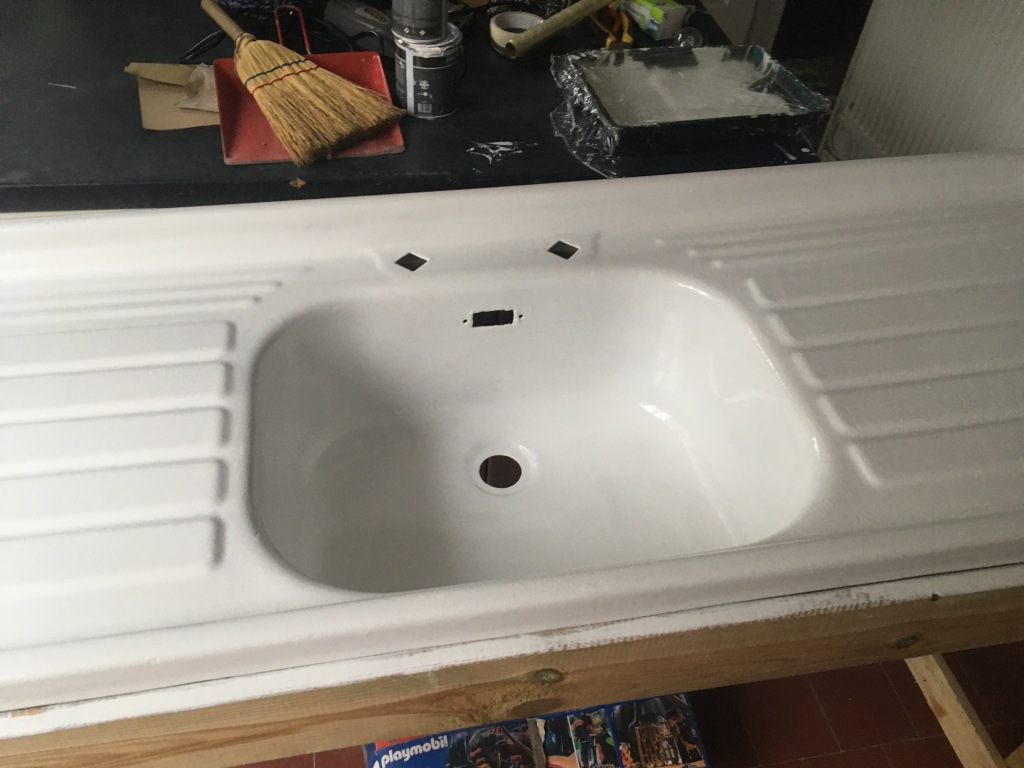
After a thorough wash and epoxying all the chipping enamel voids this is the way our gorgeous sink looked.

The overall condition wasnt too bad, and after the epoxy putty cured we were ready to re enamel this beauty.
After a deep investigation online I determined that we would use the renotub system. (Besides, if it doesn’t end not working on the long term its just £35 that we lost, and we can always call a professional refinisher should that happen.)
The flowing picture shows the result after one coat of enamel. I had to wait 10 hours to apply the second coat but after that Im confident to say that it looks fabulous.
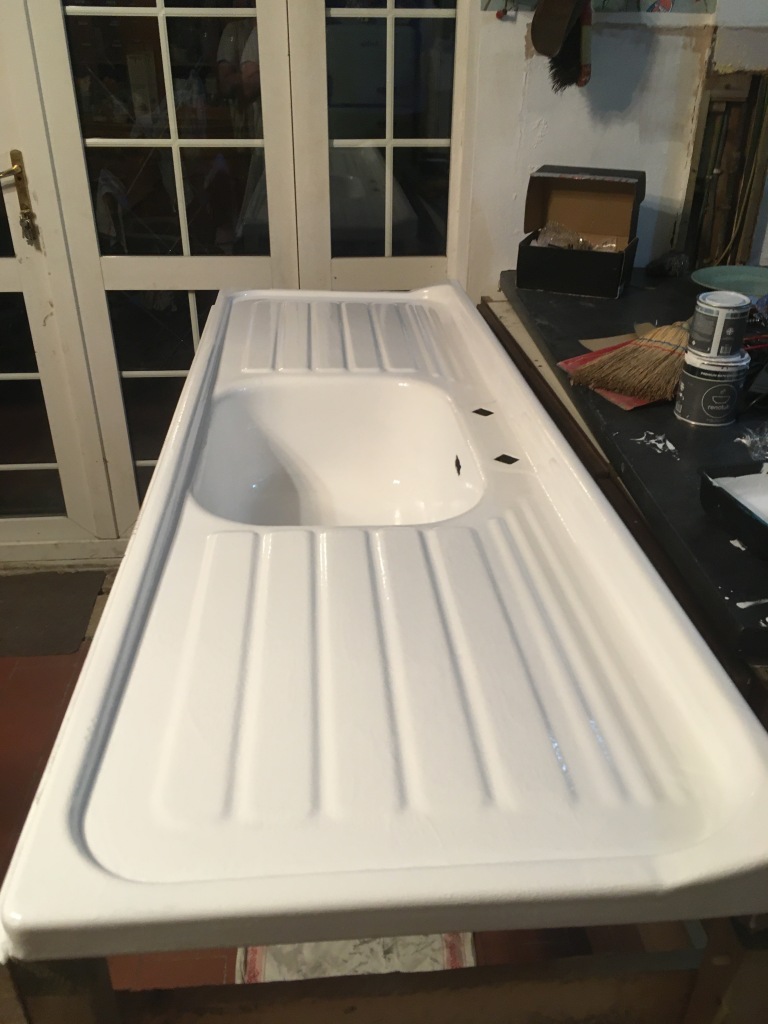
Couldn’t be happier with this product. As i said we will see if the test of time is gentle with this finish, but for now, i have to let it completely cure for 7 days before installing all the plumbing fixtures.
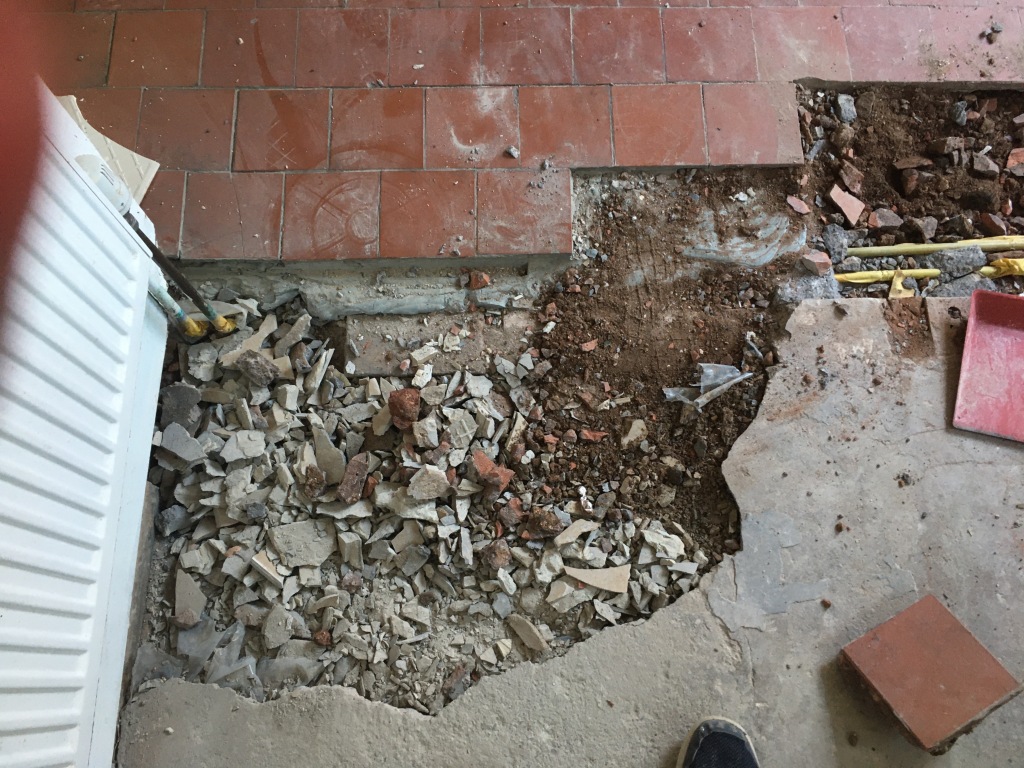
Now lets move to the doors of mordor, The temple of doom, the bottomless pit of despair: our kitchen floor.

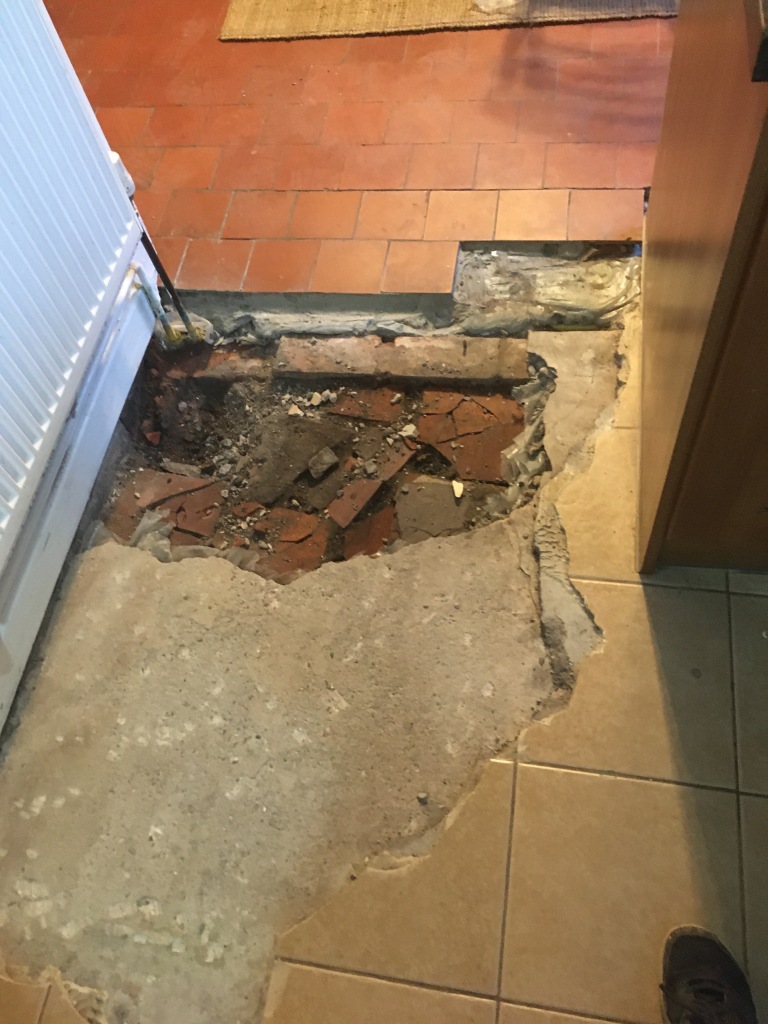
Can you see that carnage?
Those are the original pantry tiles, that a previous owner removed, smashed and used as an underlying layer for the ominous unevel concrete wilderness that is our kitchen floor.
Lets observe a minute of silence for our innocent edwardian quarry tiles.
rest in peace my dearest pretties.

After creating that crater that you can see in the kitchen floor and as a birthday gift my father got me 582 italian terracotta quarry tiles, so i was ready to finish all the flooor in the kitchen.
The aim is to tile as I go, meaning that i was dismantling kitchen cabinets as soon as the next layer of tiling would reach them.
I had to take this approach as we need to use the kitchen. Starvation is not an option and its a big surface to cover by one person.

Its finally just taken three whole days as due to the unevenness of the floor , I had to start from scratch and level all the kitchen floor.
The issue was that the floor was uneven in several directions, therefore i had to level little by little to create a continuous slope that would be very noticeable ( at the end theres barely 3 cm difference in height from one side of the kitchen to the other, so i consider that a complete triumph.

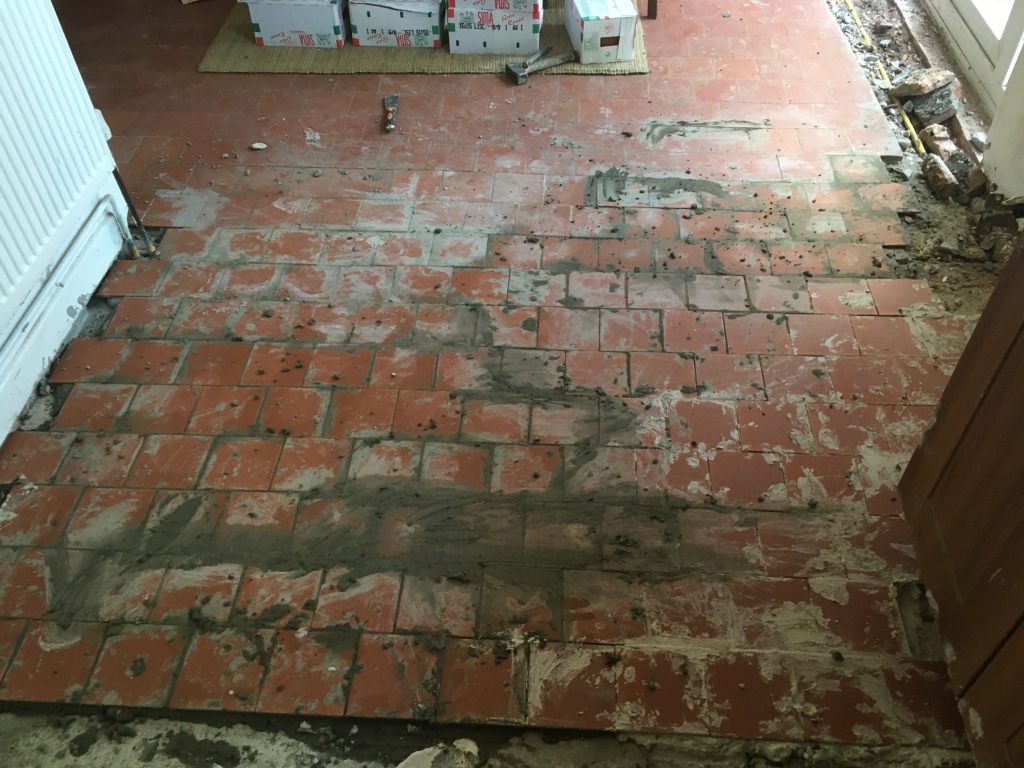
Don’t worry about the unevenness of some of those tiles as they will be underneath a built in cabinet. As i said there was masonry, heating pipes and all sorts under the floor therefore it was extremely difficult to even out the floor completely, so we opted for patching it as best as we could.
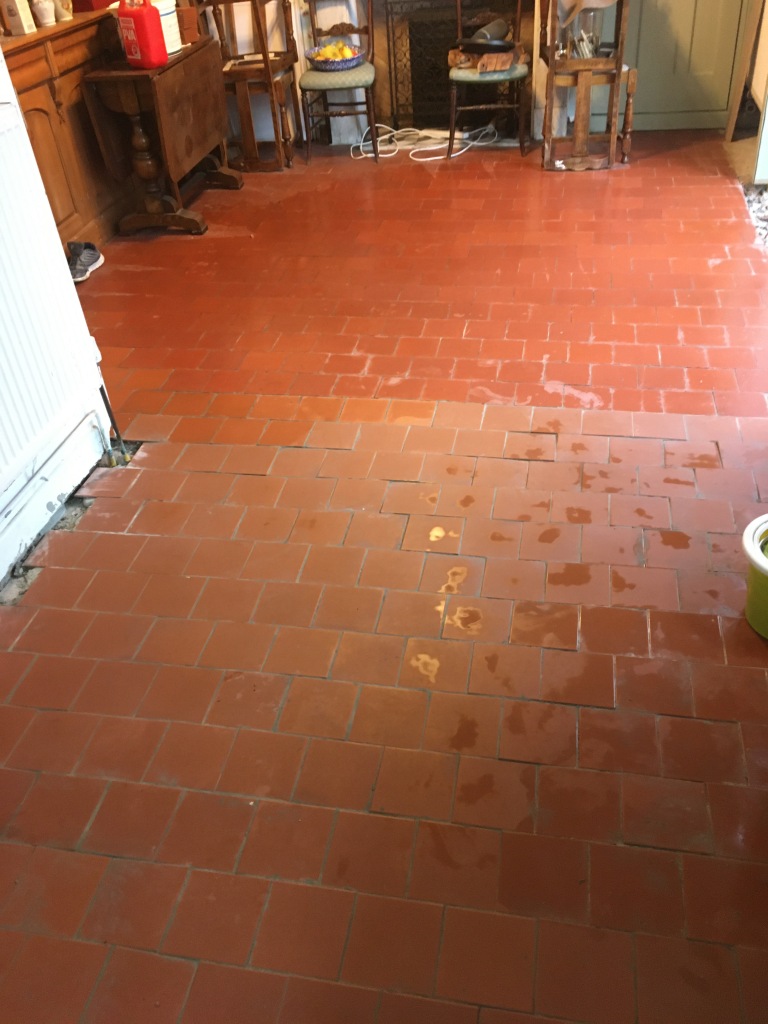
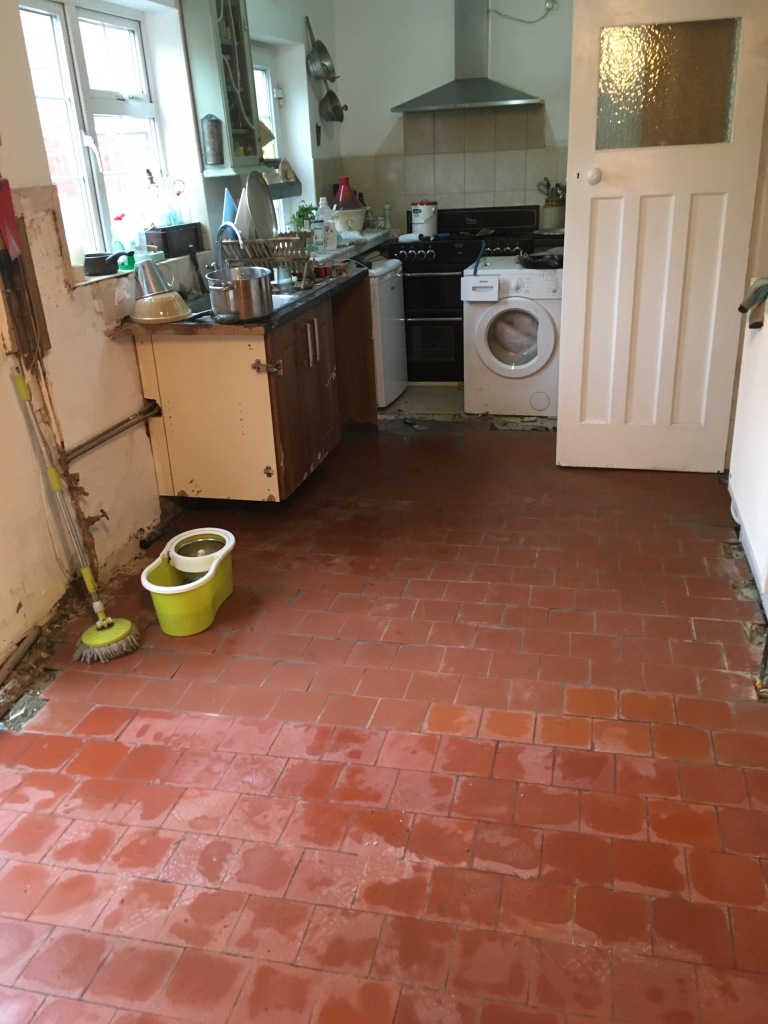
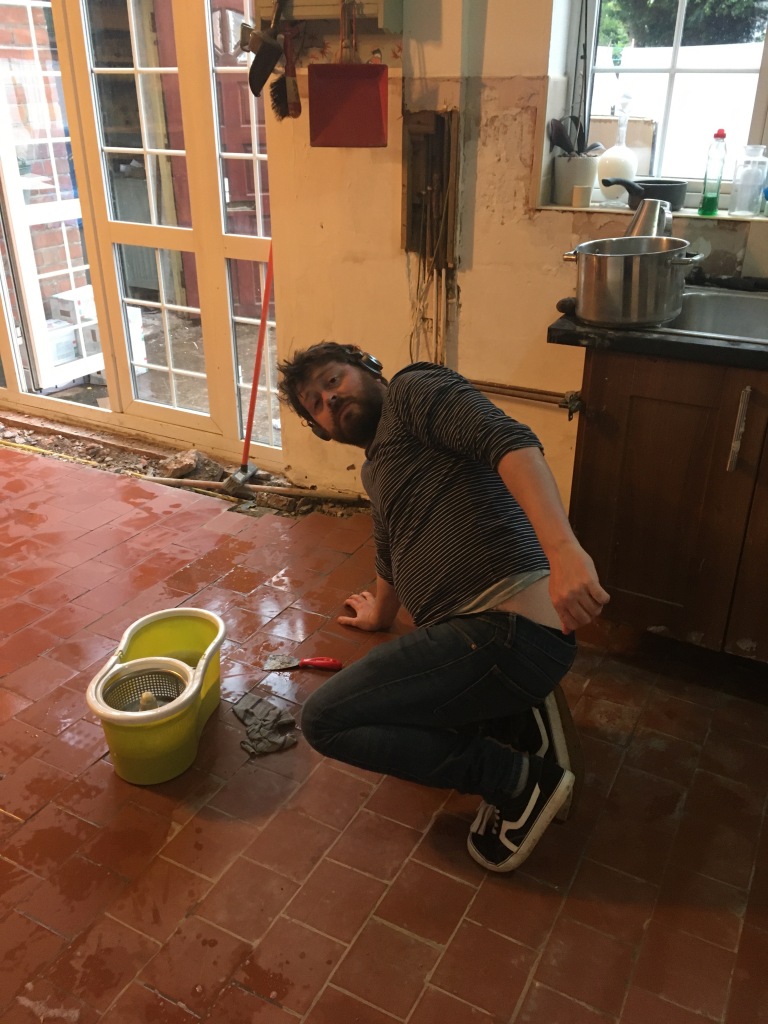
The floor is now waiting to be completed on the edges and sealed to recoup its luscious red colour once again.
For this side of the kitchen you’ve just seen, we have exciting and very french countryside plans.
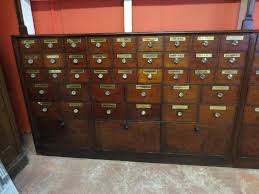
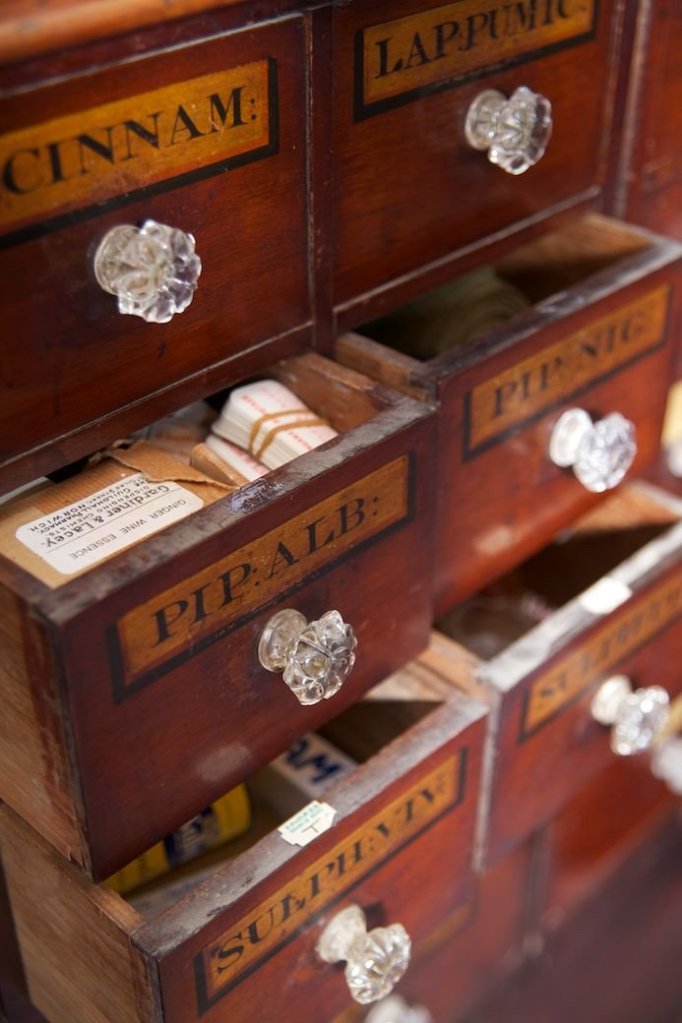
We plan to reinstate some sort of island by fabricating an apothecary cabinet and lining the top with marble.
…….and sourcing some sort of french henry II dresser for the side that you can see behind the 1930s door. That way I will have completely annihilated all the signs of the fitted kitchen.

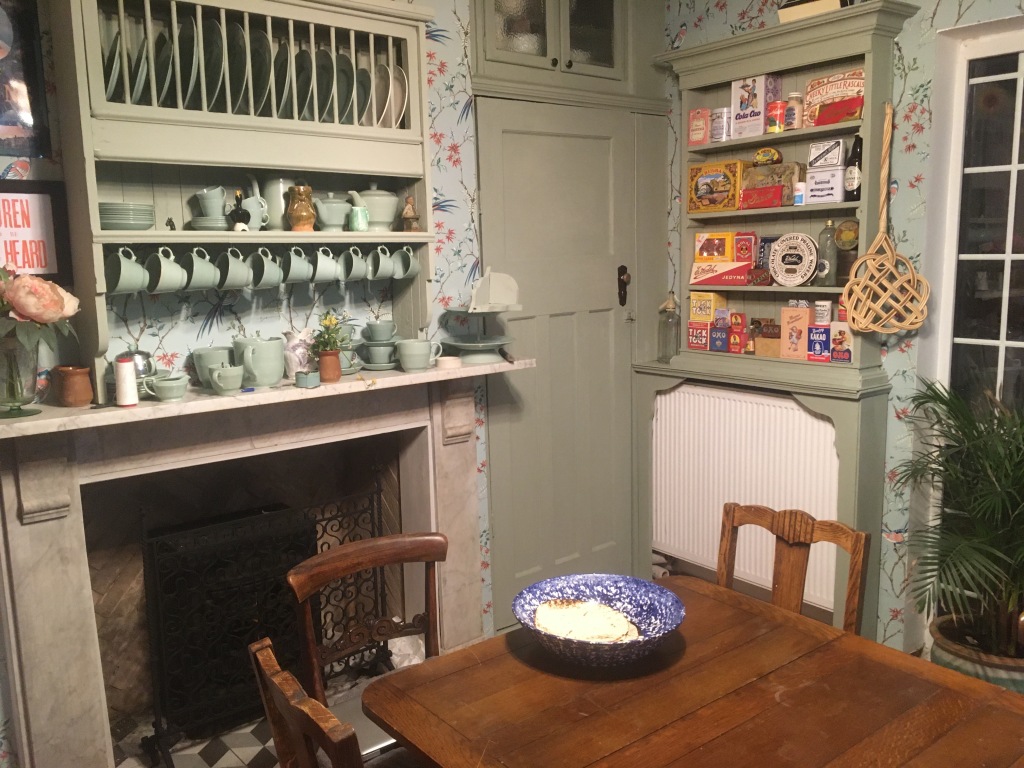
I don’t know about you but I positively hate fitted kitchens. I don’t deem them to be that practical to be honest as things like hoosier cabinets and free standing units happen to be more practical in my opinion. We proved this point when I installed the enormous dresser in the dining area of the kitchen that seems to house more stuff than the old fitted units did.

On top of all of this I absolutely hate laminated materials. I like solid wood furniture, free standing pieces so the idea of a fitted kitchen repulses me beyond belief.

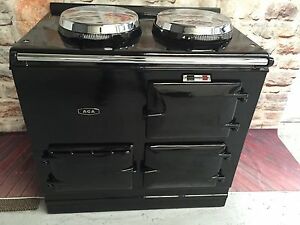
The range will eventually be replaced for one of this beauties ( when we can afford the £3000 of a refurbished one )
While inspecting the outer wall of the kitchen we discovered that our misterious bricks branded as ” the dean” are in fact a 1930s commonplace ventilation system for old gas cookers and washers, another cool find for our 1903 renovation goals.
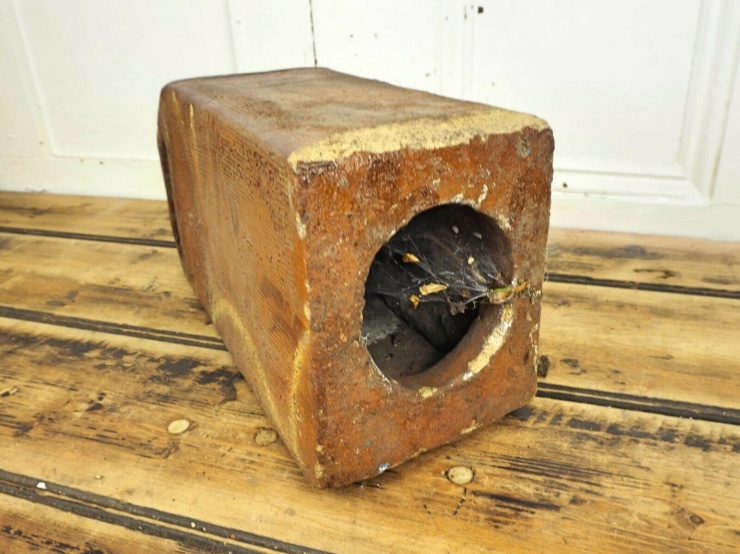
I wish we could use them again for what they were intended for, but Im sure that given my luck the result wouldn’t be too dissimilar to this.

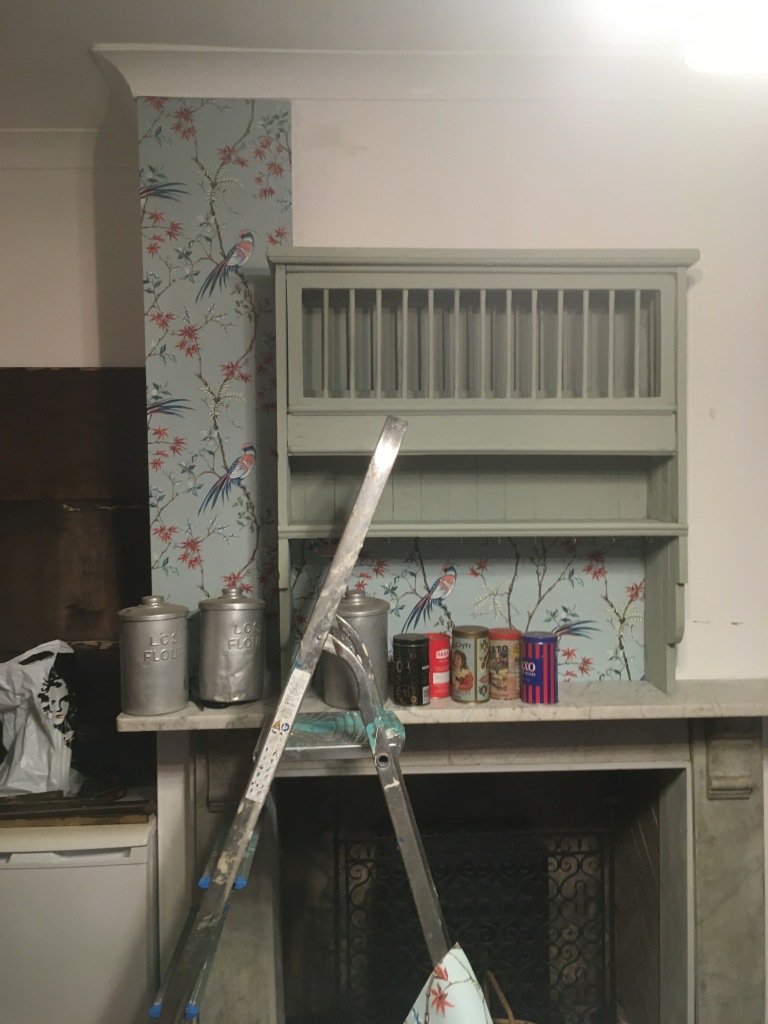
I also had a go at cabinet making by using an old door from a display cabinet and some trim and floorboards. ( I say that I kept tons of building materials for ” just in case ” moments. so once again my hoarding pays off)

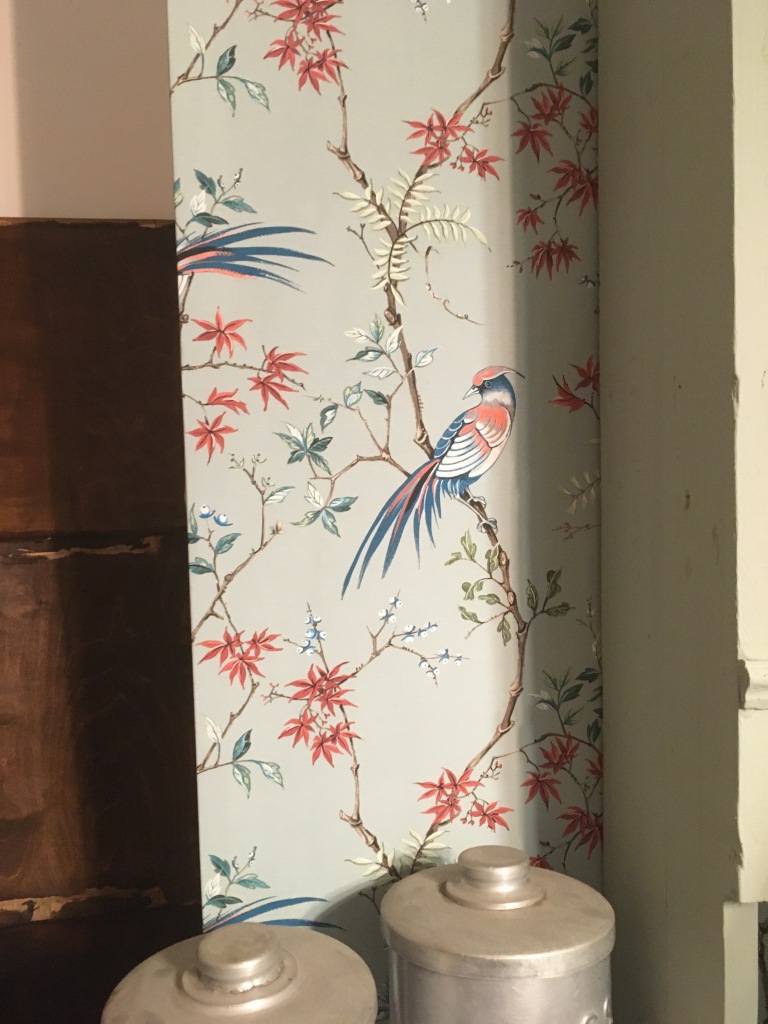
And I refreshed the vintage food covert area by building up a radiator cover and wallpapered all the kitchen in this beautiful b&q chinoiserie style paper.
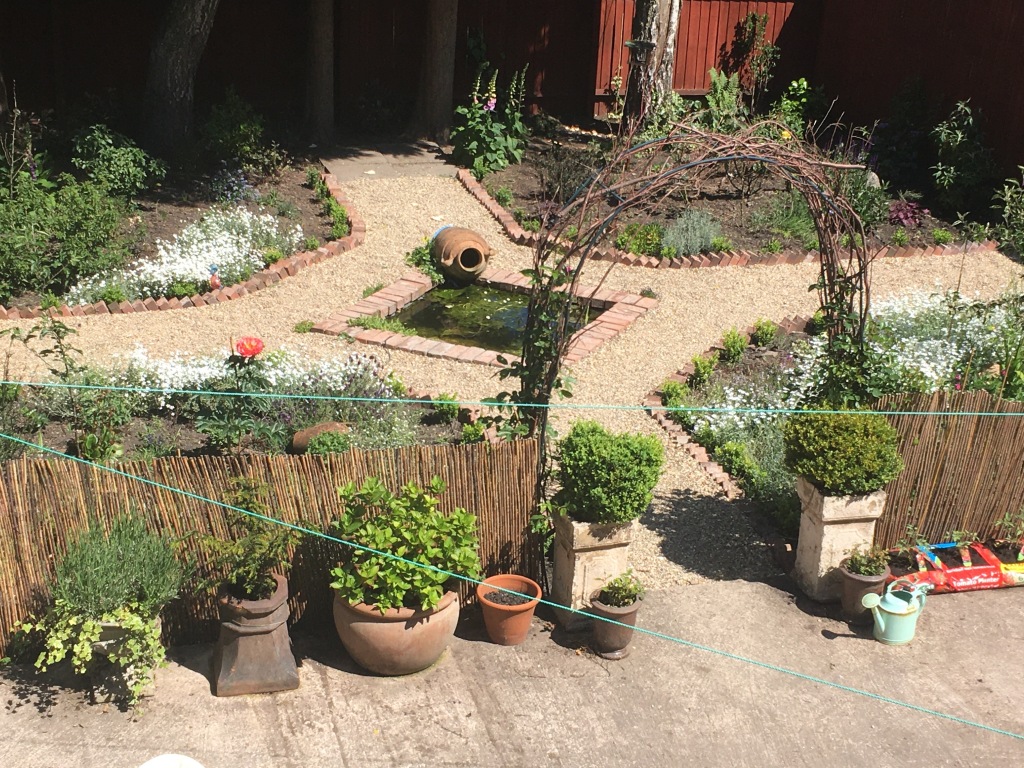
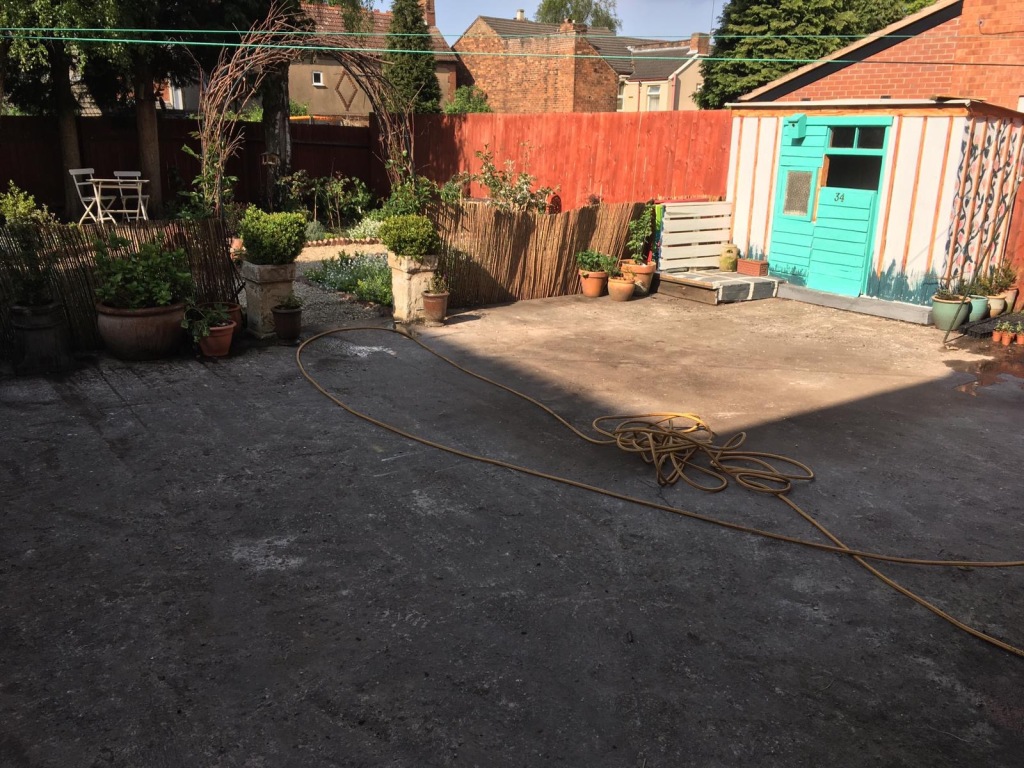
Im happy to announce Mount Rubbishmore is gone at the cost of £190 for an extra large skip and now the mount is no longer.
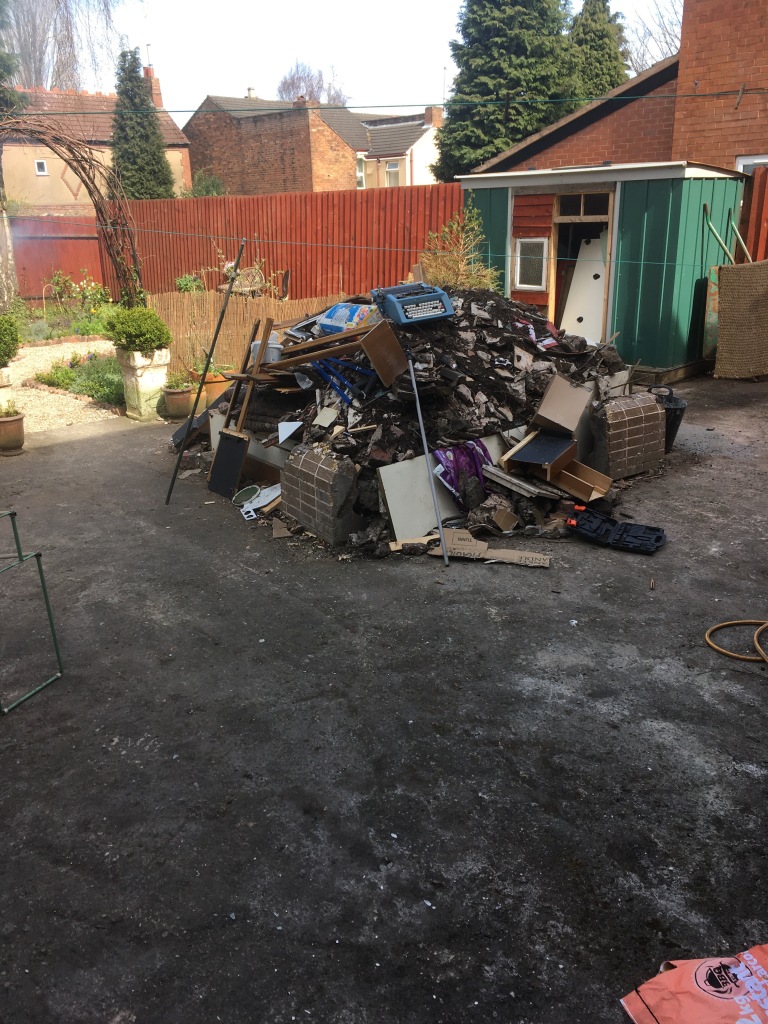
I cant begin to describe how happy this image makes me. It would make me even happier if the patio area was paved with diamond pavers, but that will come. Wish me luck finding 3000 of those beauties at 50p a piece or less, you do the math but I already envision that it will be expensive.

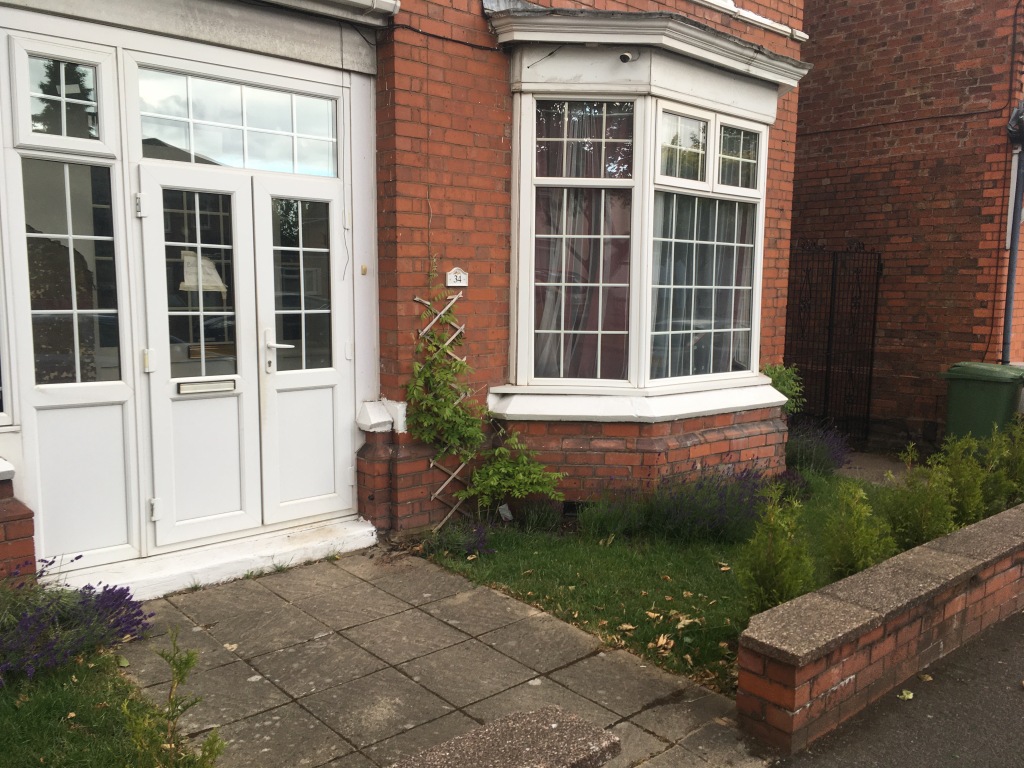
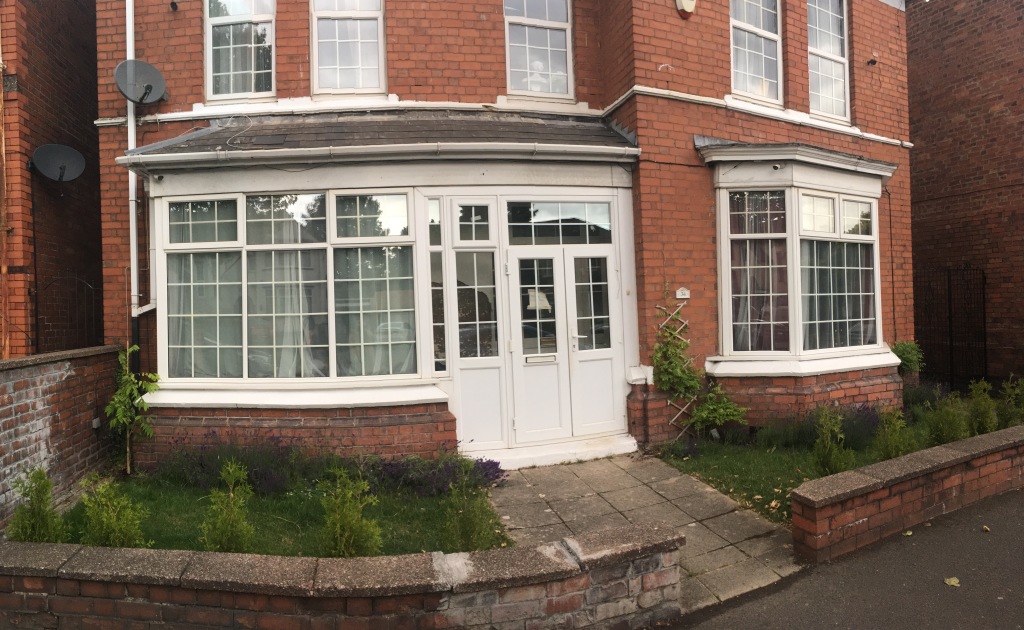
For our front of the house, were considering some gate options. But everything will depend on what i find once our local salvage yard opens and i have a furious shopping spree.Rebuilding our wall is a must as right now is an open invitation for anyone to sit in the wall and people seems to think that is ok to steal stems from our lavender whenever they pass though our house.

We need a wall
we need a gate
we need a big dog
we need a cream cake cannon
The landscaping will need to mature ( as our three wisterias are still in their infancy) , and we also we plan on opening the porch to its original configuration.
In place of those hideous upvc double doors we will have an stained glass panel on the left with a small wall rebuilt top the level of the window sills of the bay windows, and we will leave the other opening free, as it once was.
The front path also needs to be repaved, but I’m still on the hunt of blue victorian diamond pavers.
I sincerely hope that you enjoyed the chronicle of our latest DIY adventures. Soon to come:
The building of the kitchen sink cabinet and the island/storage/apothecary cabinet……..
The completion of the upstairs bathroom ( paint coving and grouting ) and much more…..
The jobs in this house are endless and my list never ceases to grow.

Sending you all a big hug,
Ben
